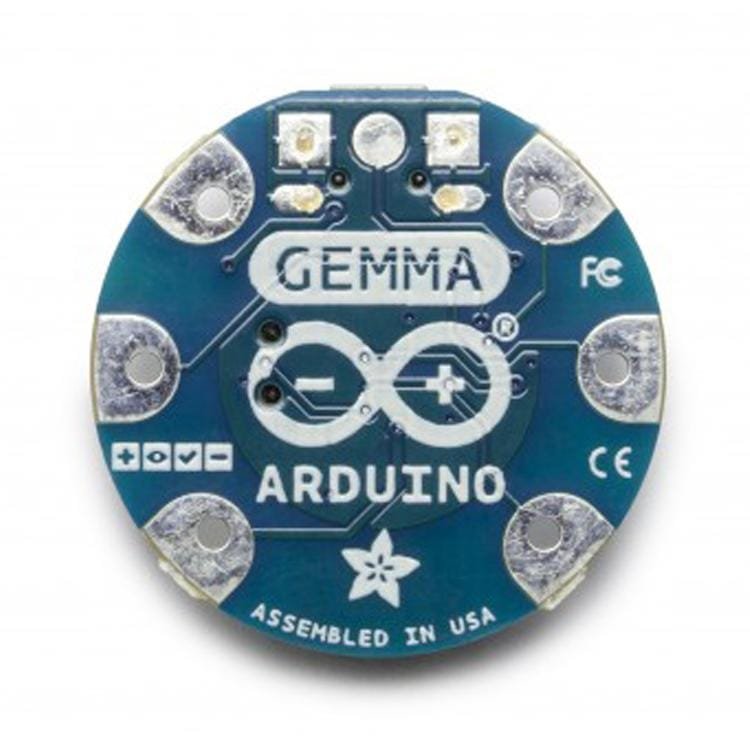
The Arduino Gemma is a microcontroller board made by Adafruit based on the ATtiny85. It has 3 digital input/output pins (of which 2 can be used as PWM outputs and 1 as analog input), an 8 MHz resonator, a micro USB connection, a JST connector for a 3.7V battery, and a reset button. It contains everything needed to support the microcontroller; simply connect it to a computer with a USB cable or power it with a battery to get started.
Even though you can program GEMMA using the Arduino IDE, it’s not a fully 100% Arduino-compatible. There are some things you trade off for such a small and low cost microcontroller!
- GEMMA does not have a Serial port connection for debugging so the serial port monitor will not be able to send/receive data
- Some computers’ USB v3 ports don’t recognize the GEMMAs bootloader. Simply use a USB v2 port or a USB hub in between
Here are some useful specifications!
- Super small, only 1.1″ / 28mm diameter and 0.28″ / 7mm thick.
- Easy-to-sew or solder pads for embedding in your wearable project
- Low cost enough, you can use one for every weekend project
- ATtiny85 on-board, 8K of flash, 512 byte of SRAM, 512 bytes of EEPROM
- Internal oscillator runs at 8MHz
- Ultra low power, draws only 9 mA while running
- USB bootloader with a nice LED indicator looks just like a USBtinyISP so you can program it with the Arduino IDE (with a few simple config modifications)
- Micro-USB jack for power and/or USB uploading, you can put it in a box or tape it up and use any USB cable for when you want to reprogram.
- We really worked hard on the bootloader process to make it rugged and foolproof
- ~5.25K bytes available for use (2.75K taken for the bootloader)
- On-board 3.3V power regulator with 150mA output capability and ultra-low dropout. Up to 16V input, reverse-polarity protection, thermal and current-limit protection.
- Power with either USB or external output (such as a battery) – it’ll automatically switch over
- On-board green power LED and red pin #1 LED
- Reset button for entering the bootloader or restarting the program.
- 3 GPIO – The 3 independent IO pins have 1 analog input and 2 PWM output as well.
- Hardware I2C capability for breakout & sensor interfacing.
Getting Started
In the Getting Started section, you can find all the information you need to configure your board, use the Arduino Software (IDE), and start to tinker with coding and electronics.






Reviews
Clear filtersThere are no reviews yet.